
mySewnet™ & PREMIER+™ 2 Software Newsletter - June 2021
Welcome to the mySewnet™ and PREMIER+™ 2 Newsletter.
Check out our feature and stick around for some inspiration!
Today's topic is Lettering Fun and Fancy
Feature
Feature
Lettering Fun and Fancy
mySewnet™ and PREMIER+™ 2 Embroidery offer many options for designing embroidery, or editing existing embroidery designs. Today, let's push the envelope a bit to explore ways we can use the Letters tab in Embroidery!
These project ideas are suitable for any purchased level of mySewnet™ or PREMIER+™ 2 Embroidery.
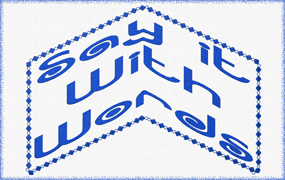
Shown above, Retro Category, Font Jingo 25-55mm, line Shape Chevron ![]() , Gap 0, Line Spacing 1.5. Frame created using Motif Underline, 1 Repeat, Stitch Group Husqvarna Viking, Category F Decorative Stitches, Stitch 16. Encore to Shape, Shape 45, Gap 0. Use Reveal Groups in the Filmstrip, and adjust the corner stitch motifs.
, Gap 0, Line Spacing 1.5. Frame created using Motif Underline, 1 Repeat, Stitch Group Husqvarna Viking, Category F Decorative Stitches, Stitch 16. Encore to Shape, Shape 45, Gap 0. Use Reveal Groups in the Filmstrip, and adjust the corner stitch motifs.
I often think that we get stuck in a rut when we're designing Letters. To paraphrase a pop song, it's 'Lines, Lines, Everywhere Lines' when we add words or sentiments to our design fields. Let's take a little time to explore the Letters tab settings and options, and then hop over to the Inspiration section to explore less boring and more fun and fancy ways to utilize these Letter features for some truly notable lettering design!
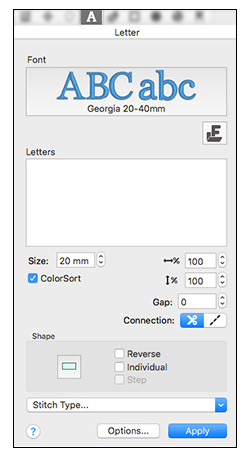
Shown below, Letter tools in Windows toolbar and Mac Control Panel.

System Letter Fonts are displayed in the Gallery Viewer. When you open the Gallery View, it's easy to scroll through System Fonts included in your PREMIER+™ 2 or mySewnet™Embroidery software, subdivided by Category.

Need even more lettering? With Font Manager  you can Import Font from Embroidery
  to load purchased embroidery designs as sets of letters so you can utilize the envelope Shapes and spacing.
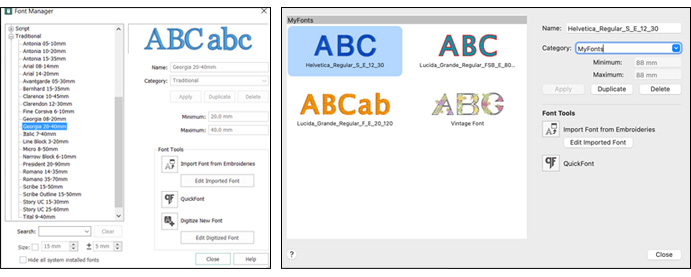
Needing something more unique? Design your own original Fonts from TT or Open style Windows or Mac fonts using QuickFont  . QuickFont places custom-designed Fonts directly into the MyFonts System folder, so you can create nicely aligned and spaced words very quickly!
Font Manager also has tools for managing your personal System Fonts in the MyFonts folder.
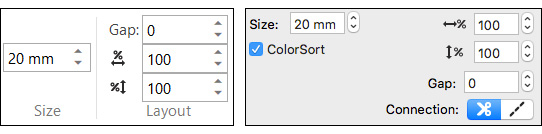
Size and Layout tools help you preset Letter Size, Gap (spacing between lettering) and percentage of width or height, just the way you want them! Kerning is automatic according to the Shape you choose, too.
Speaking of Shapes, 35 flexible envelope Shapes offer artistic flair to Letter design! Use Shapes to stylize your Lettering, setting a mood or tone to suit the sentiments you wish to express. Step outside the confines of straight lines, and try a pennant  , flag
  , or rocket
  for a change!
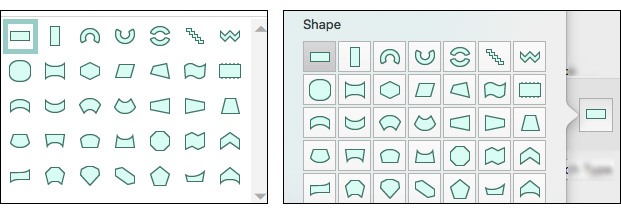
Write in secret code by selecting Reverse, so the letters read from right to left rather than left to right.

Select Individual to design each letter in its own Shapes box! If you select one of the 35 Shapes, each letter will conform to the Shape you choose!

Georgia, 20 – 40mm, Rounded Shape, Individual Letters over a Horizontal Line Shape in a single block.
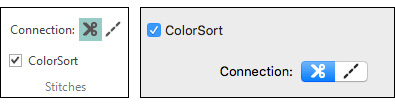
The Stitches settings let you connect letters with a Trim  (to tie off and cut between each letter), or Running Stitch
  , convenient when letters are small and close and you don't want your embroidery machine to stop, tie, and cut between the the smaller letters! ColorSort reduces the number of thread changes in blocks of lettering, and can be enabled or off (so you can create words with the many colors of a rainbow).
Many of the Letter Fonts have adjustable Stitch Type properties!
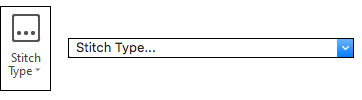
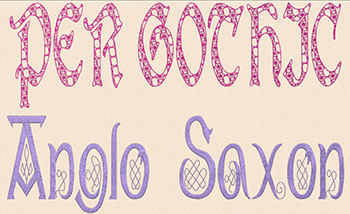
Try presetting the Stitch Types in Motif Fill Fonts, such as Per Gothic, or Satin Fonts, such as Anglo Saxon.
Don't forget, the right-click menu also gives you many opportunities for trying out different stitch styles after the letters are applied, if you aren't thrilled with your initial selection!

Per Gothic, Pattern Motif Universal, Geometric 1, Stitch 14. Anglo Saxon, Fill 269.
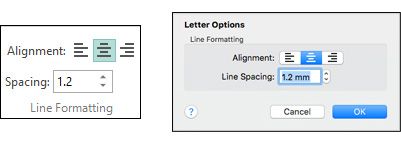
Want to write a poem, or make a quilt label? Line Formatting tools (click the Options button in Mac to open the Options box), contain Alignment options for left, center or right justification, or to adjust the Spacing between lines.
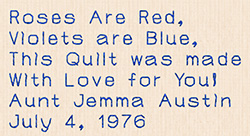
Shown below, Traditional Category, Line Block 3-20mm, Size 5mm, Gap 20, Line Spacing 1.6, Alignment Left. Actual size 3 ½” x 2”.
Perfect for a quilt block!
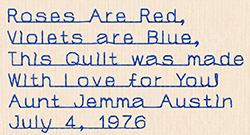
Don't want to Trim? Use the Running Stitch connection for very small letters!
And the final tool in the Letters tab: Apply  , to generate Letters in the work area.
Check out the Inspiration section for some Letter techniques to get your imagination rolling!
All Letter Fonts are included at every level of subscription or perpetual package with mySewnet™Embroidery. Available Fonts are stepped by package levels in the PREMIER+™ 2 System.
INSPIRATION
INSPIRATION

Saying it with words!
Here are some design ideas to get you thinking about making Letter designs using more than straight lines and the default Font settings!
Unique Shaping
Use Individual to design each letter in its own Shapes box!
Shown below, Display Category, Stencil UC 15-100mm, Individual.
Use the Filmstrip to select letters for each word, and Group to hold the letters together for ease of adjustment. Use the Alignment tools in the Home tab, or Design menu in Mac, to Align Horizontal, to Center, and Distribute Vertically.
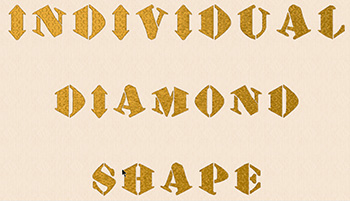
Here is the same font, but without selecting Individual. All the characters are in a single select box.
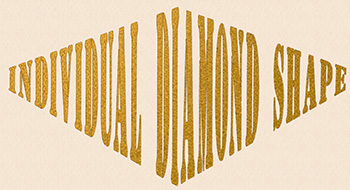
This version has multiple lines of text in the text box, one word per line.

Each set of words has a distinctively different look, but all share a common Font and line Shape!
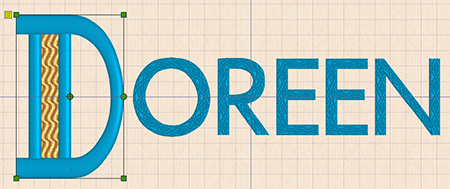
Names with Character
Make a name stand out in the crowd using Individual!
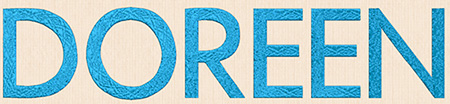
Shown above, Modern Category, Sans UC 20-50mm, Size 50mm, Shape Horizontal Block, Stitch Type: Satin Column, Pattern 103. Viewed in Life View  .
.
Select the first letter in the Filmstrip, and then select Edit Lettering from the right-click menu.
Select the Font category in the Letter Properties box, and choose a new Font, Olympia 2C UC 30-50mm.
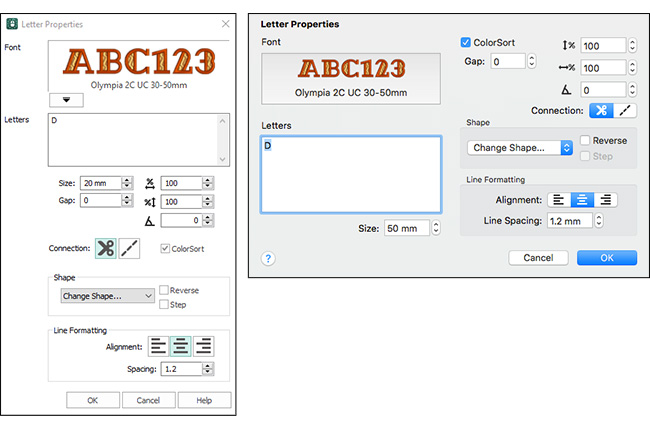
Change the thread color to coordinate or match the other letters in the name, and then use the select box corner handles to adjust the size of the first letter. Click and drag to position the letter to make it stand out!
Right click and select Satin Column from the pop-up ment to change to a matching pattern fill, 103.
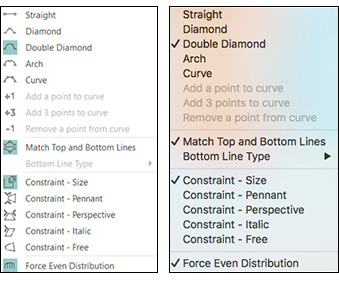
Select the Handles Menu  .
.
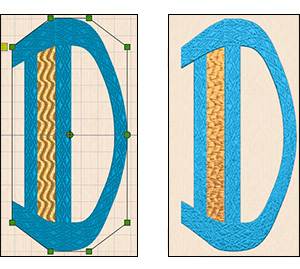
Shown below, select Double Diamond and Match Top and Bottom Lines.
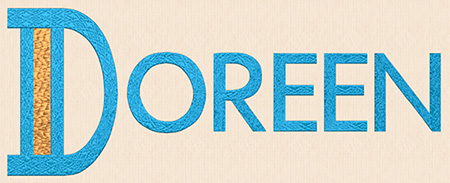
Shown below, selected in the Work Area with the new shaping, and in Life View .
Unique Line Shapings
Don't forget that the line Shape options have some pretty distinctive selections, as well.
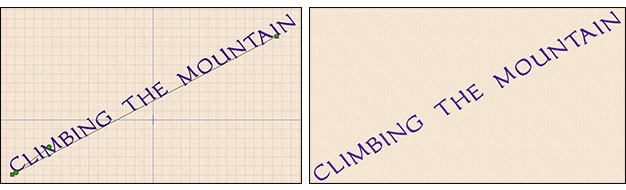
Shown below, Carlton UC 15-45mm, Size 15, Gap 20%, Shape Fit to Straight Line and Step selected, Color changed to purple  .
.
Shown with Baseline visible in the Work Area, and then in Life View .
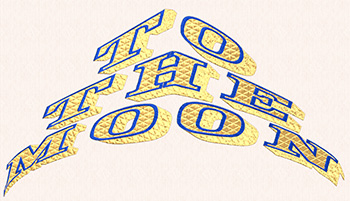
Shown below, Font Category Wild West, Décor 2C UC 45-100mm, Size 60mm, Gap 0, Rocket Shape , Spacing 1.0, ColorSort checked. Color 1 changed to a yellow or gold. Shown in Life View .
And one more for the road: Free Sculpt  .
.
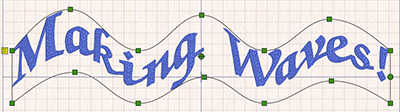
Category Monograms, Stitch Type Calligraph 15-50mm, Size 33mm (for a 360mm wide hoop), Gap 0, line Shape Free Sculpt , Color Sort checked, Stitch Type Satin Column, Pattern 82.

Adjust the handles to make the lettering wavy! And if you check the Handles Menu, you'll see that Free Sculpt is Constraint Free, so you can drag any of the adjustment handles for many free-form looks!
So many options, so many looks, why be tied down to straight lines? Play up those letters today, and make something Fun and Fancy with Lettering!
Did you know?
In mySewnet™ Digitizing or PREMIER+™ 2 Create you can Insert Letters for even more advanced editing capabilities! For example, change the fill type or the border line type.
Have a fabulous day, from the software team at mySewnet™ Embroidery!
PS:
Join us next month as we explore the tools available for adding ribbon and beads in the mySewnet™ Embroidery Embellish tab, and Decorations in PREMIER+™ 2!