
PREMIER+™ 2 Software Newsletter - February 2020
Welcome to the PREMIER+™ 2 Newsletter.
Check out our feature, then stick around for some inspiration!
Today's topic is PREMIER+™ 2 Embroidery System: The Magic of Modify
![]() .
.
Feature
Feature

The Magic of Modify
So often, we have embroidery designs in our collection that are close to being just what we need,
but would be even better if we could just change up their look or style! The PREMIER+™ 2
Modify Module ![]() has magical tools that help us edit in many ways.
has magical tools that help us edit in many ways.
From changing a pattern, to adjusting a stitch point, to quickly isolating and selecting individual elements within an embroidery, you can expand, enhance, and re-engineer your collection to make something with an entirely new appeal!
After you Insert an embroidery, the modification process begins!
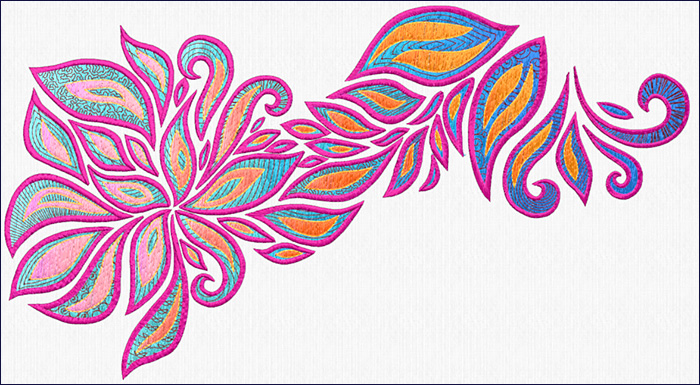
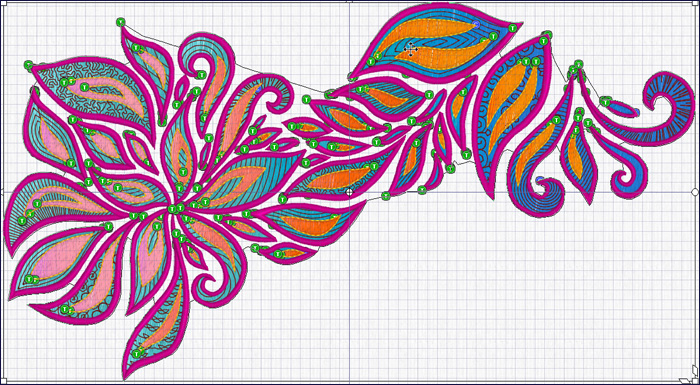
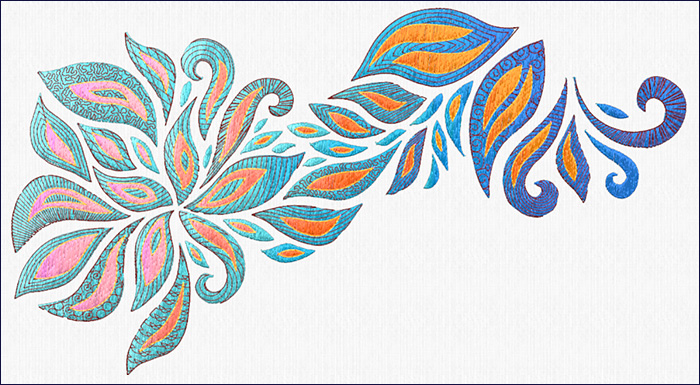
The embroidery pictured above is Gradient Flower Cyan Tones.vp4, from the Premier+2|Samples|Premier+2Inspiration|Floral|Stitch folder.
Step through the embroidery one color at a time using the Draw Next Color  or Draw Previous Color
  commands in the Control Strip at the bottom of the work area.

Toggle on Ghost Mode  so the 'hidden' stitches appear as a ghost view for reference.
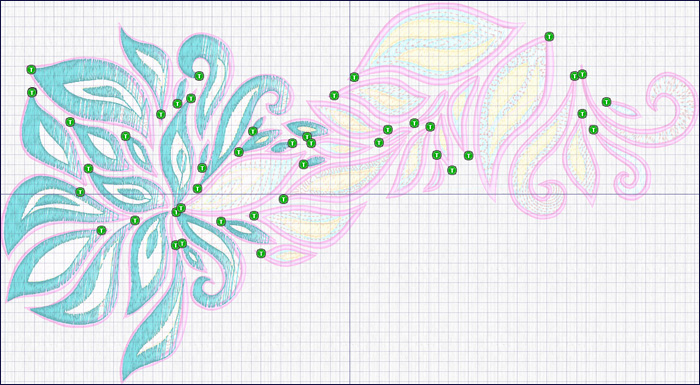
Shown above with only color 2 visible and Ghost Mode enabled.
Show or hide areas by checking or unchecking color boxes in Color Select in the Control Panel (Design tab  of the Control Panel in Mac).
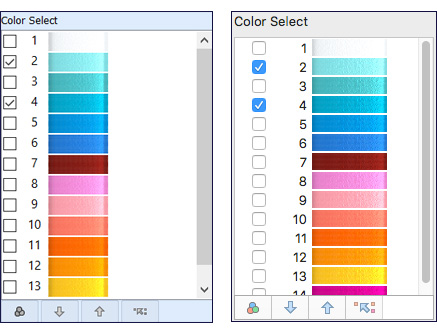
Alternate between the currently selected color blocks and the hidden ones by toggling with Invert Visible Color Blocks  .
.
View all the stitches again with Draw All Stitches  .
.
When you have isolated the perfect stitches for a new design, simply capture them with the Selecting tools, found in the Selection Tool bar or Home tab in Windows, or the main Toolbar or Edit menu in Mac.

Place the select stitches on the clipboard with the Copy tool  in the Windows Home tab, or Mac Edit menu.
Alternatively, use the keyboard shortcut Ctrl+C on Windows, or Command-C on Mac.
With File, and New, you can open another Modify window.
It's so easy to Paste  new elements for the masterpiece you are constructing
(Home tab in Windows, or Edit menu then Paste in)!
new elements for the masterpiece you are constructing
(Home tab in Windows, or Edit menu then Paste in)!
Alternatively, use the keyboard shortcut Ctrl+V on Windows, or Command-V on Mac.
Don't miss out on the extensive fine-tuning tools available in the PREMIER+™ 2 Modify module's ![]() Modify tab/menu, either.
Remove, add or adjust Color Commands, Stop Commands, or Trim commands. Add Tie stitches, adjust Density and Compensation, and so much more.
Modify tab/menu, either.
Remove, add or adjust Color Commands, Stop Commands, or Trim commands. Add Tie stitches, adjust Density and Compensation, and so much more.
PREMIER+™ 2 Modify ![]() is so jam-packed with options, we can't begin to list them all in just one overview! Make sure you go through all the lessons available in your printed User Guide, or in the PDF versions of the Reference and User guides, found in the PREMIER+™ 2 home folder on your computer!
is so jam-packed with options, we can't begin to list them all in just one overview! Make sure you go through all the lessons available in your printed User Guide, or in the PDF versions of the Reference and User guides, found in the PREMIER+™ 2 home folder on your computer!
Any way you use it, PREMIER+™ 2 Modify ![]() is a perfect companion to all the other modules/applications in the PREMIER+™ 2 Embroidery System!
is a perfect companion to all the other modules/applications in the PREMIER+™ 2 Embroidery System!
INSPIRATION
INSPIRATION
Creating with PREMIER+™ 2 Modify
Selecting elements from existing embroidery designs, then building them into new embroidery confections, brings oodles of additional creativity to your embroidering experience.
Here are just a few creative ideas to get you started!
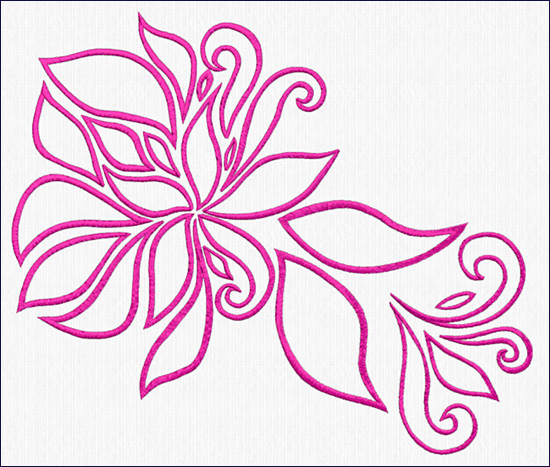
Begin with the embroidery, Gradient Flower Cyan Tones.vp4, found in the Premier+2| Samples|Premier+2Inspiration|Floral|Stitch folder:
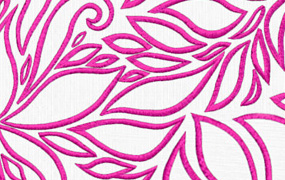
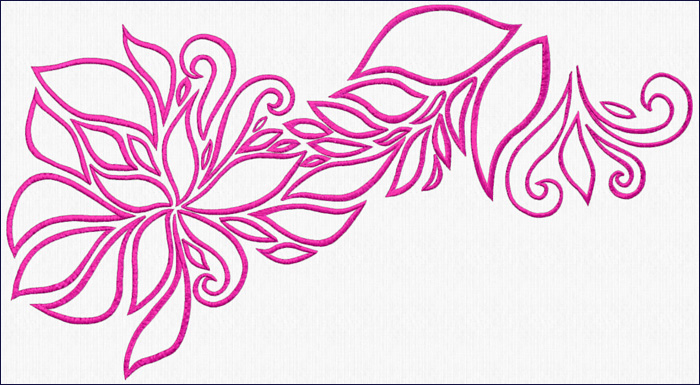
Use the isolating and selecting tools to design an elegant, satin outline version:
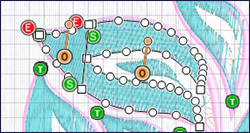
Try out the Freehand Select tool  to isolate a smaller group of stitches:
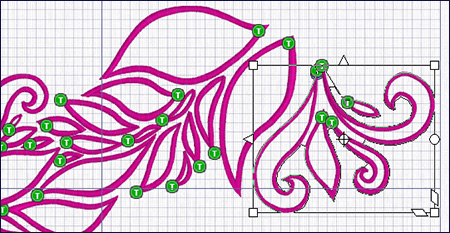
Copy and Paste the selected stitches into a new Modify window.
Make a select box using the Select tools.
Then Rotate, Duplicate, and adjust the positioning to create a companion design to go with your new outline-only embroidery!

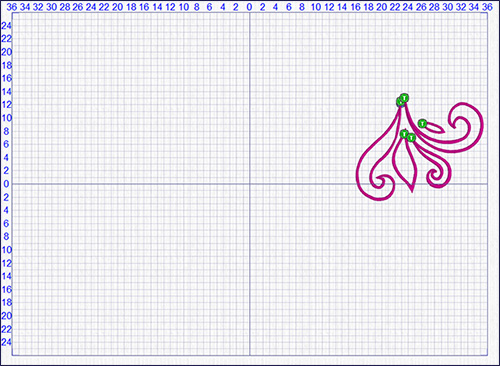
Here's another idea:
And another alternative using an entirely different selection of elements, filtered by color:
No matter which technique you try, you'll have great fun turning something old into something new!
And, if you don't own the PREMIER+™ 2 Modify module, ask about adding it to your existing software, or upgrading to the PREMIER+™ 2 ULTRA version!
Did you know ?
Tip: You can use the Control key (Command in Mac) and click to select multiple areas of stitches in the Object tab in the PREMIER+™ 2 Modify module,
then use the Origin Command with Handle  to change the either the stitch area's origination point or angle,
allowing you to quickly align or contrast angles in multiple areas of similar stitches!
to change the either the stitch area's origination point or angle,
allowing you to quickly align or contrast angles in multiple areas of similar stitches!
Have a fabulous day, from the software team at PREMIER+™ 2 Embroidery!
PS:
Join us next month as we take a look at the value of saved .krz files in the PREMIER+™ 2 Cross Stitcher Module/Application  !
!