
PREMIER+™ 2 Software Newsletter - May 2019
Welcome to the PREMIER+™ 2 Newsletter. Check out our breaking information in News, then stick around for some inspiration!
Today's topic discusses how to use Insert Embroidery  in the Create module of PREMIER+™ 2 ULTRA.
News
News

UPDATES COMING SOON
PREMIER+™ 2 for Windows and Mac version 12.4 is coming soon.
This update will include enhancements to the Import Font From Embroideries feature in PREMIER+™ 2 Embroidery, new fonts and SuperDesigns, and many bug fixes. More details in next month's newsletter.
Also, new videos are waiting at the PREMIER+™ 2 Learning Center!
Feature
Feature

Insert Embroidery in Create
Sometimes, you just have that perfect embroidery design in your collection, but you really crave a few fundamental changes which require a high level of precision.

You'd like to adjust areas or add sections of stitches to change up the design, so you can fine-tune a finished embroidery design into a specific size, density, stitch pattern, underlay level, and more.
Have you tried out the Insert Embroidery function in the Create module of the PREMIER+™ 2 Embroidery System? With Insert Embroidery, you can turn embroidery stitches back into .edo files, to redesign embroideries to fit your very specific needs!
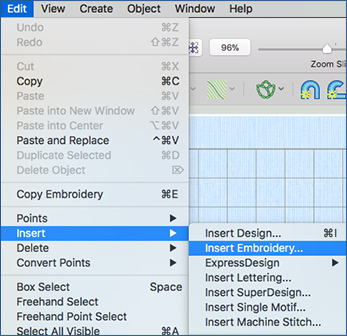
Insert Embroidery resides in the Home tab in Windows.

In Mac, it's found in the Edit menu, under Insert.
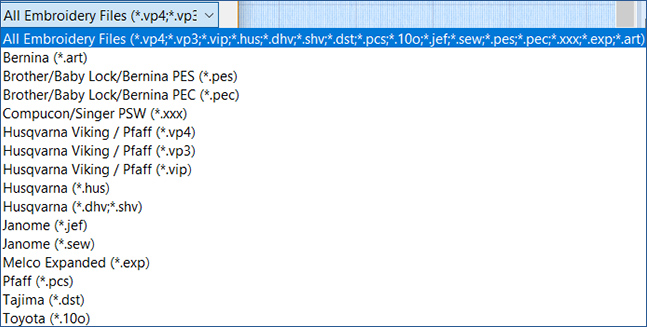
Insert Embroidery can open most common embroidery file types.
Once one or more files are inserted into the Create work area, you can adjust them in the same manner you'd adjust any embroidery designed in .edo format in PREMIER+™ 2 Create!
Each embroidery you insert will be Grouped, so simply right-click or Control-click over the Group frame in the FilmStrip, and select Ungroup from the context menu

If some stray stitch objects become visible when the design is converted into an .edo file, simply use the Hide Object Types in Windows, or Filters in Mac, to find and delete unwanted stitches as desired.

Working with Insert Embroidery lets you resize a design with high accuracy, adjust or change areas of stitches, add additional stitch objects, and much much more with embroidery designs that have been finalized for stitching!
Expand the level of your creativity by using Insert Embroidery to change up your design collection with a high level of flexibility and accuracy!
INSPIRATION
INSPIRATION
Transforming Inserted Embroideries
Need ideas for changing up embroidery files by converting them back to an .edo file in PREMIER+™ 2 Create, using Insert Embroidery ?
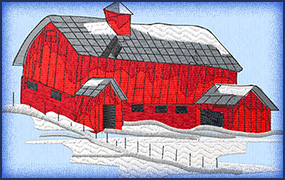
Use Insert Embroidery to add Premier+2|Samples|Premier+2Emb|Stitch2|Buildings, Winter Red Barn to your work area. The original size is 99mm x 52mm.
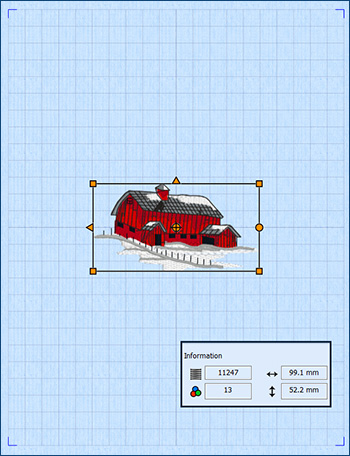
Enlarge it to fit in the 260mm x 200mm hoop, Orientation Rotated.
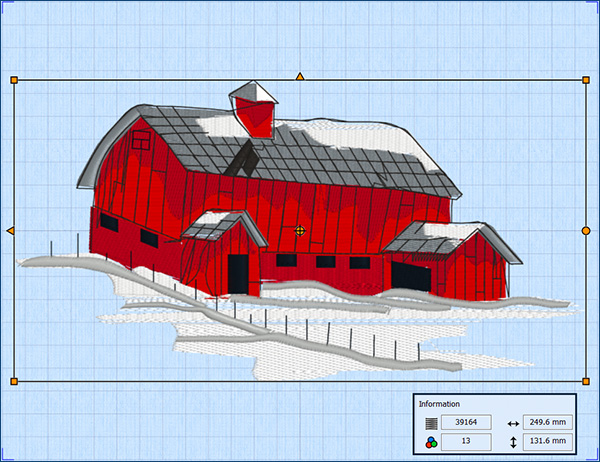
Adjust areas of white snow, and change to patterns with a more sculpted fill.

Let's audition one more!
Use Insert Embroidery in a New Window to edit the Paisley design in |Premier+2|Samples|Premier+2Emb|Stitch2|Fashion. Remember to Ungroup the design!

Double the paisley in size.
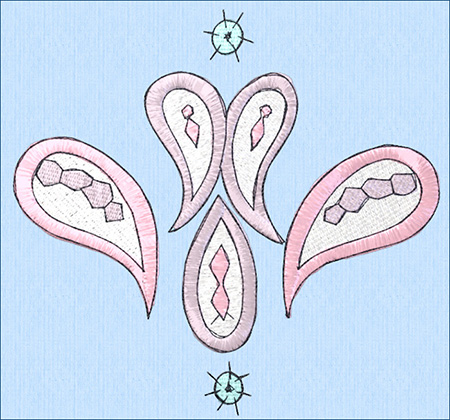
Then change Satin Columns to Gradients and Lace pattern 257, for a subtle breakup of the longer satin stitches.

Change the white Pattern Fills to Spiral Fill, Density 25, and move all Origin commands below the green element at the bottom of the design.
Create many looks for any embroidery, all redesigned using Insert Embroidery in the Create module from the PREMIER+™ 2 ULTRA system!
Did you know...
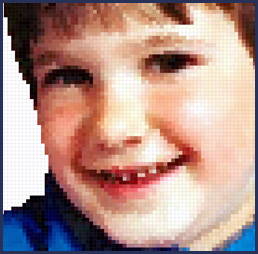
... that you can create interesting portraits by sending a photograph through the Cross Stitch Design Wizard in PREMIER+™ 2 Cross Stitcher, selecting a small cross size, and adjusting the image in Rotate and Crop?
Have a fabulous day, from the software team at PREMIER+™ 2 Embroidery!
PS:
Join us next month as we experience how to get the most from the ExpressMonogram Wizard and Assistant!