
PREMIER+™ Software Newsletter - August 2017
Welcome to the PREMIER+™ Newsletter. This month we will review the basics of how to make your own lettering fonts with PREMIER+™ QuickFont, part of the PREMIER+™ EMBROIDERY, PREMIER+™ EXTRA and PREMIER+™ ULTRA packages.
Inspired Icons
Inspired Icons
The PREMIER+™ QuickFont Wizard  is found in the Accessories QuickLInk
  pop-up menu or on the Letter tab of the PREMIER+™
Embroidery module ribbon bar. The QuickFont Wizard steps you through the options to create new fonts for the Letter tab in the
Embroidery module, and also for font sets for select sewing and embroidery machines.
pop-up menu or on the Letter tab of the PREMIER+™
Embroidery module ribbon bar. The QuickFont Wizard steps you through the options to create new fonts for the Letter tab in the
Embroidery module, and also for font sets for select sewing and embroidery machines.
Some often used icons in the QuickFont Wizard include six Stitch Types:
Satin  ,
Pattern Fill
,
Pattern Fill  ,
Pattern Fill + Satin Border
,
Pattern Fill + Satin Border  ,
Satin Border
,
Satin Border  ,
Appliqué
,
Appliqué  ,
and Outline
,
and Outline  .
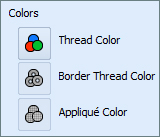
Other icons include
Thread Color
.
Other icons include
Thread Color  for changing colors of Satin or Pattern Fill Stitch Types;
Border Thread Color
for changing colors of Satin or Pattern Fill Stitch Types;
Border Thread Color  for changing the border in Pattern Fill + Satin Border, Satin Border, and Appliqué; and
Appliqué Color
for changing the color of the previewed appliqué fabric.
for changing the border in Pattern Fill + Satin Border, Satin Border, and Appliqué; and
Appliqué Color
for changing the color of the previewed appliqué fabric.
Module Mystique
Module Mystique
Let's review the basics for creating a Quick Font in PREMIER+™ Embroidery Software!
When you open the QuickFont Wizard from the QuickLInk
Accessories pop-up menu or on the Letter tab of the Embroidery module ribbon bar, the first page of the Wizard is Select Font.
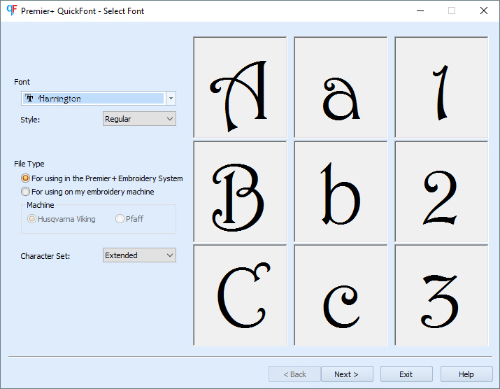
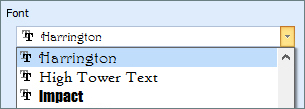
In Font, click Open  to scroll through a pop up menu of all TrueType® and OpenType® fonts available on your computer.
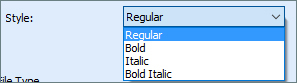
Once you have selected a Font, open the Style menu to select from the different styles available for the selected font. Many fonts include Regular, Bold, Italic and Bold Italic.
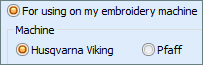
In the File Type options, you can select from either 'For using in the Premier+ Embroidery System' or 'For using on my embroidery machine' for the specific brands shown in the Machine settings box.
With 'For using on my Premier+ Embroidery system' selected, open the Character set to see what differents sets of letter characters are available in your chosen font.

Character Sets vary from font to font, with some containing more or fewer options.
Next moves you to the Set Stitch Options page.
Stitch Type has a choice of 6 different stitches in the pop up menu.
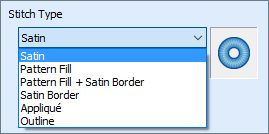
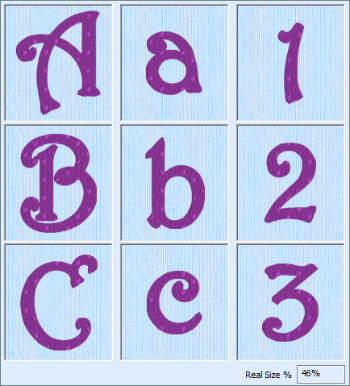
Once you select a Stitch Type, the preview window updates to show a live stitch view, and the Real Size percentage of your preview is shown under the preview window.
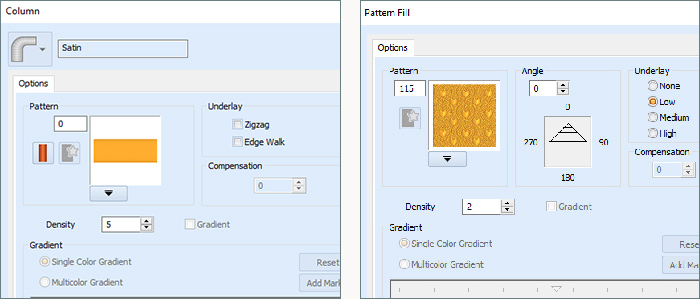
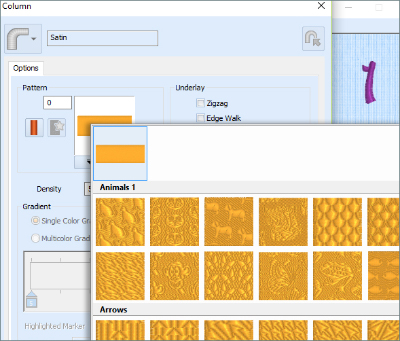
Satin and Pattern Fill Stitch Types have Stitch Options.
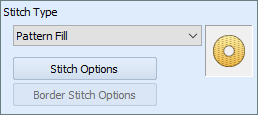
Stitch Options let you adjust the properties for the Satin Stitches or Pattern fills used in these Stitch types.
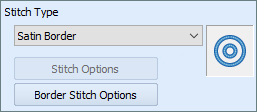
Satin Border, Appliqué and Outline use Border Stitch Options.
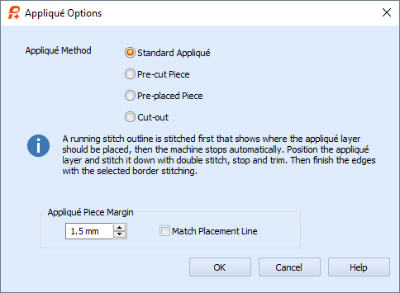
Appliqué Fonts can be adjusted for different types of appliqué. In addition, appliqué designs created in the PREMIER+™ Embroidery System can export clipart used by digital cutting machines, or for hand-cutting templates.
Tip: Appliqué settings in PREMIER+™ software use Stop or Halt commands to stop the stitching for applying fabric or trimming. Some machines can't read Stop commands. You can edit out the Stop Commands and add Color Changes in PREMIER+™ Modify.
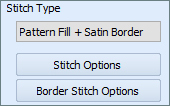
Pattern Fill + Satin Border has both Stitch and Border Stitch Options active.
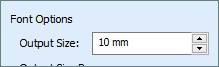
In the Font Options menu, you can specify the size of the font set. When you create a font for an embroidery machine, the Output Size is active so you can make a single size font to load onto specified brands of embroidery machines.
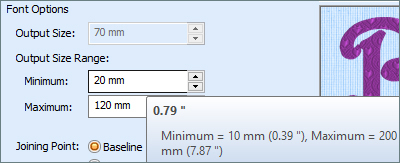
When you create a System font for PREMIER+™ Embroidery module, Output Size is a range between Minimum and Maximum. The size range will vary according to the Stitch Type you chose. Some stitches, such as Satin, will have a smaller size range because satin stitches become long at larger sizes. Other stitches, such as Pattern Fill, will have a larger size range so the letters have enough area in them for the fill patterns to show. If you hold the mouse cursor in the Minimum or Maximum field, the size range available for that Stitch Type will show as a pop up.
Tip: If you plan to make very large Satin fonts, in the Stitch Type / Stitch Options, use one of the 250+ Pattern Fills in the Satin Column areas.
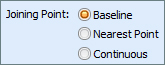
Joining Point sets how the letters connect from one to the next. Baseline starts and ends the letters at their baseline. Nearest Points connects the adjacent letters where they are closest to each other, and Continuous is used for Script style fonts to make them appear written as cursive.
Use Colors to change the thread colors and background fabrics for different Stitch Types.
Thread Color
is used for Satin and Pattern Fill stitches.
Border Thread Color
is for Satin Borders,
Appliqués and Outlines.
Appliqué Color  is used to change the background fabric in the Appliqué Letters.
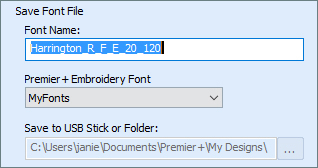
Click Next to Generate the Font, and then Save the Font File. The File Name is automatically generated showing the original font name, Style, Character Set, and Minimum and Maximum Size Range. The File name can be changed if desired.
The PREMIER+™ Embroidery font folder shown is MyFonts unless a Script font was used. MyFonts is recommended for all the fonts you create so you have them all in one place for easy access and identification!
When making a new letter set for a sewing machine, the Save to USB Stick or Folder option will be active.
Print Catalog  generates a page with all the characters and font information to send to your printer. Some computers may also have a Print to PDF option installed.
If you plan to make another font, check 'Return to start to make another font when I click Finish'.
generates a page with all the characters and font information to send to your printer. Some computers may also have a Print to PDF option installed.
If you plan to make another font, check 'Return to start to make another font when I click Finish'.

Click Finish to make your font!
Tips and Techniques
Tips and Techniques
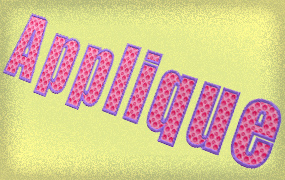
Let's explore some of the Appliqué settings when designing a PREMIER+™ Appliqué QuickFont! Use a font that is not too thin or too thick-and-thin, so it is suitable for appliqué. For thinner fonts, try changing Style to Bold.
-
Start the PREMIER+™ QuickFont Wizard .
- Select a Font Type that is not too thin or too thick-and-thin, suitable for an Appliqué font. For thinner fonts, try changing Style to Bold.
- Select For using in the PREMIER+™ Embroidery System.
- Leave Extended in the Character Set. Extended contains most commonly used letters and additional characters. Some fonts are Upper Case only, and will not contain Lower Case letters!
- In the Next screen, select Appliqué in the Stitch Type.
- In Stitch Options, select Standard Appliqué, and change the Appliqué Piece Margin to 1.5, with a check by Match Placement Line, if you plan to cut a paper template or send to a digital cutting machine.
- In Border Stitch Options, change the Satin Width to 3.0mm, and Density to 5, with a check by Underlay.
- Leave Output Size Range at the default Minimum and Maximum.
- Change the Border Thread Color to your choice.
- In Appliqué Color , select a fabric color so you can preview your letters in the Wizard as you plan to stitch your Appliqué.
- In the Next window, Print a Catalog if desired, and then Finish.
- Now, in the PREMIER+™ Embroidery module, select the Letter tab, and use your new appliqué font from the MyFonts menu!
Fun Facts to Know and Tell
Did you know that System Fonts in the PREMIER+™ Embroidery System are scalable with automatic Density and stitch adjustment when their corner handles are green,
and that you can Save  or
Save As
or
Save As  a 'working' or non-flattened .vp4 file to open and edit the font as if it is new?
Best wishes from PREMIER+™
PS: Watch for the PREMIER+™ newsletter next month as we look at some fun with PhotoStitch!
PPS: View more information about PREMIER+ 2 features.